Invisalign®: how does it work?
Learn the step-by-step process we use at SuttonPDA for an Invisalign procedure.
Step 1 of an Invisalign treatment: your first dental appointment
It all begins with a visit to our dental office to determine your best options.
We will:
- check your medical history
- inspect your teeth,
paying close attention to your oral health, teeth crowding, or the existence of gaps between your teeth.
We will also advise and show you, using simulated software, your likely outcome. Finally, we will discuss your expectations as well as all related fees.
If all is agreed upon, and Invisalign® is indeed the best solution for you, then it is time for step 2.
Step 2 of an Invisalign treatment: dental impressions, digital photographs, and X-rays
Following the adage: “measure twice and cut once” this part will involve:
- X-rays
- Dental scans
- Digital photographs
Wondering about what critical data we gather?
One of these is the line of symmetry that runs from the center of the front teeth to the rear of the mouth.
This and other information will ensure that your Invisalign® braces are perfectly positioned to your individual anatomy. The above measurements will give us a precise 3D model of your mouth.
Hence, it will be possible:
- to put together a treatment plan
- start producing Invisalign® trays,
uniquely adapted to your situation.
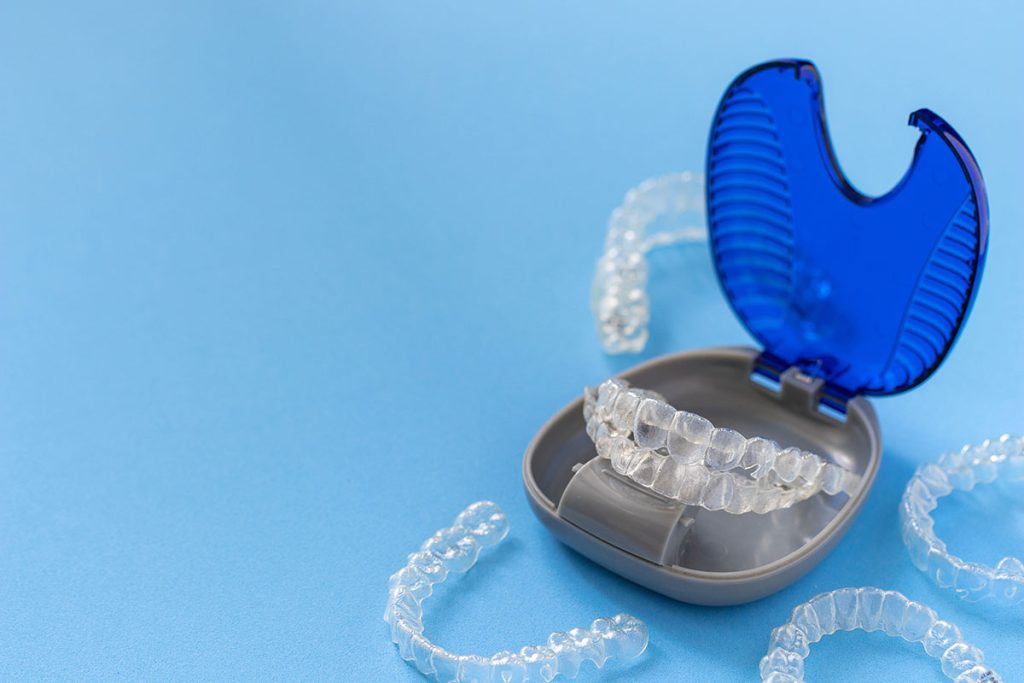
These are made of transparent medical grade plastic.
Step 3 of an Invisalign treatment: teeth buttons
By now everything is ready, and you can easily start wearing your first set of Invisalign® trays?
If you have a complicated malocclusion or bite, then you will need attachments. They will apply the necessary extra force to guide your teeth to their optimal positions.
So, if you belong to this group of patients, we will use dental composite material to bond some tiny tooth-colored “bumps” to your teeth.
These buttons are painless to place and remove. They are also temporary and almost invisible.
Step 4 of an Invisalign treatment: wearing Invisalign® braces
After the arrival of your custom-made Invisalign® trays, you can wear the first set. We will usually order anywhere between 12-48 aligners, depending on the needed degree of correction. In some situations, you may need as little as 7 and, in rare cases, over 50 sets of trays.
We will check the fit of your trays. Once this is verified, and we have clearly explained your aftercare program, you are ready to go!
You will love Invisalign® because it can discreetly correct your smile.
You will need to wear your aligners for about 21-22 hours per day. You will remove them only when caring for your teeth (flossing, brushing …), eating, or drinking anything that is not water.
A quick word of caution: it is important to remove Invisalign® when you drink beverages other than water, or your aligners will get stained.
After 1-2 weeks, your bumpers will have helped your teeth move sufficiently. You will thus be able to use your next set of aligners, which will also produce further movement, till you reach the last set.
We design each Invisalign® tray to fit your anatomy at each stage of the treatment and to gradually (and gently) move your teeth. They exert proper pressure on your teeth and control their movements.
How long will treatment last?
That depends on your situation. You will not find 2 persons with identical situations and teeth, and the same treatment needs. This is the reason why we will only be able to provide you with a time estimate after a dental appointment.
Bear in mind that we need to ensure that you will have a properly functioning bite as well as straight teeth and more pleasing smile.
Anywhere from 6 to 24 months is usually the timeframe you should be expecting, with the average being around 7 to 8 months.
This is a great improvement over traditional braces, which could take up to 30 months to achieve the desired alignment results.
Step 5A of an Invisalign treatment: follow-up appointments
A few weeks after the first set of trays are fitted, we will have a follow-up appointment to check your progress and your trays’ fit.
Invisalign® consists of a series of trays. Each of them incrementally straightens your teeth. We will thus check your progress periodically.
The good news is that unlike with metal braces, you will not have to return for regular appointments. We will not have to see you each time you wear a new aligner.
Appointments will only take place every 2-3 months.
Sometimes, if you do not progress as planned, a new digital scan and additional aligners may be necessary.
During follow up appointments, some extra procedures may be necessary. Stripping (or slenderizing) is one of them. It is completely painless, and less complicated than you think.
Let’s find out more.
Step 5B of an Invisalign treatment: stripping or slenderizing
It consists in removing 0.1-0.4 mm of enamel (the hard and glossy outer shell of a tooth) from some of your teeth to make space for crowded teeth to straighten out. This is in contrast to traditional braces, which may even require removal of a tooth or teeth to create the necessary space for teeth movement.
This conservative procedure is quite common with Invisalign®.
We will remove your enamel with a sandpaper-like metal strip or a very thin disk on a handpiece.
The movement is akin to flossing. The amount of enamel removed is so small that it will not be noticeable. You will not experience any increased risk of cavities or sensitivity, either.
The procedure is quick and painless. We will not need to numb you, and in some cases a slight and temporary irritation of your gums may ensue
You may also feel a little discomfort for a day if you wear Invisalign® trays. The trays can in fact touch your sensitive gums. This potential discomfort will go away within 24 hours.
Step 6 of an Invisalign treatment: straighter teeth
Do you want to know the best part?
If you wear the trays the way we recommend, we guarantee that your teeth will be straighter over time. The result will depend on the initial degree of misalignment.
Moreover, you need to know that teeth move and may gradually revert to their initial position. Therefore it is often necessary to stabilize the treatment results.
That leads us to the next point.
Step 7 of an Invisalign treatment: retention
For a simple case of misalignment, a minor correction will suffice. It will be unlikely for it to relapse (your teeth will not move back to their original positions).
But what if your initial misalignment was significant?
Well, after a complete Invisalign® treatment, we advise using retainers to hold your teeth in place. We believe this to be an essential step for a successful Invisalign® treatment.
Several possibilities exist to ensure that your smile remains beautiful.
For instance, you may need a metal wire bonded from canine-to-canine, on the lingual side (behind your teeth). And (or) we could make you a set of removable retainers. You will only wear them at night. This approach is also necessary when getting braces
The wire ensures the life-time stability of the treatment. It will not result in any discomfort.
Insurance, Payment Plans, and Credit Card Acceptance
Check our insurance page for any questions you may have.
We hope you have enjoyed this article. Check also our article Invisalign, clear braces.
SUTTON PLACE DENTAL ASSOCIATES ON THE WEB